EX1: Doodle
Last revised: 1:44 PM Wednesday, April 10, 2019Android Goals:
- Get familiar with Android Studio
- Understand XML and View
- Load image and drawable resources
- Learn Activity Lifecycle
HCI Goals:
- Use abstractions to draw on screen
- Create animations
- Use coordinate transformation
- Try to create something appealing
Part 1
Tasks:
- Download and install Android development environment
- Open our skeleton code in Android Studio
- Implement three methods:
addImage,addText,addLine - Call the methods you implemented and compare your app screen with our screenshot
- Animate
UWso it slides from left to right when the app opens.
This task involves implementing three methods in Part1.java. Each method is named here but detailed doc comments can be found in Part1’s superclass, Doodler, which also defines some nice helper methods. It also defines the onCreate behavior of the Activity which calls the method Doodler#doodle(FrameLayout).
In Part1, you’ll find missing implementations for three methods: addImage, addText, and addLine.
Subclasses of Part1 will have access to these methods once they are implemented. Take a look at an example of this in Part1Activity. It extends Part1 and uses the three methods to draw the following image on the screen:
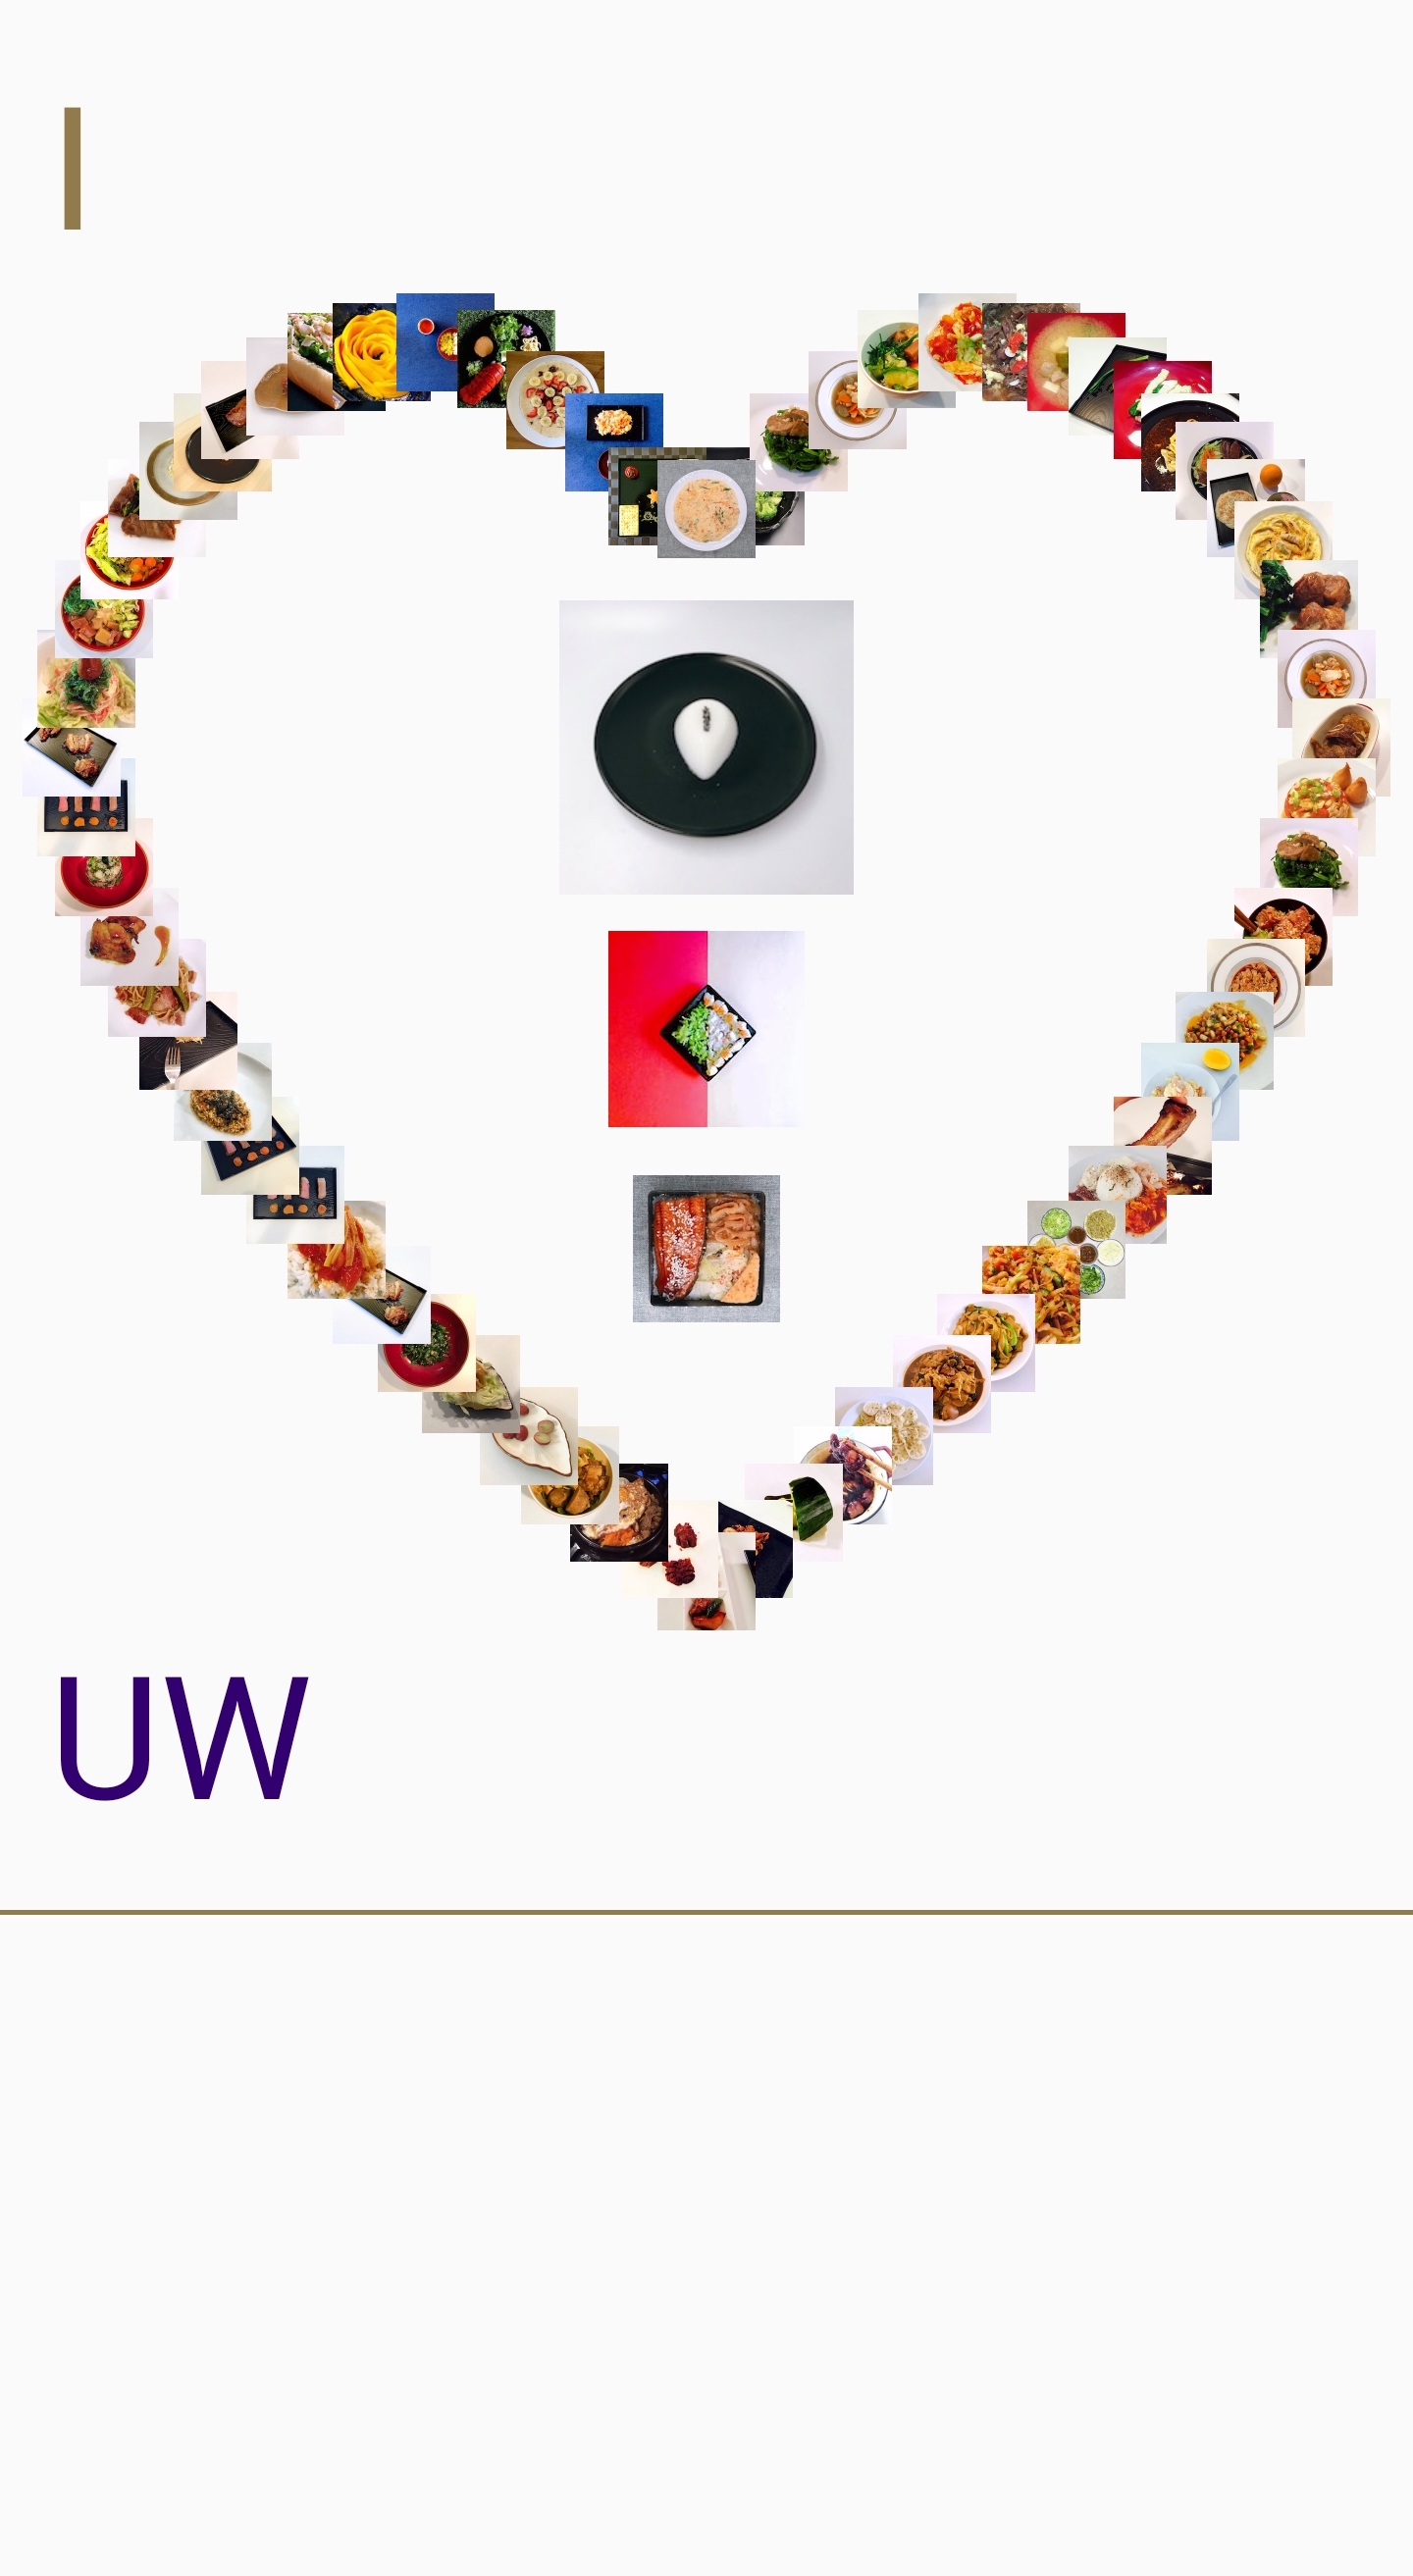
You’ll notice in doodle in Part1 that we use scaleX and scaleY around our coordinates (and size for images). These allow us to ensure the doodle still looks good on smaller screen sizes. If you use any pixel coordinates in your solutions, remember to wrap them in these scaling methods. These will scale coordinates from the Pixel 2 XL to the dimensions of your device’s screen. We’d recommend that you use a Pixel 2 XL emulator to compare the finished doodle against our screenshot to be sure you’re implementing everything right.
Specs for addImage
ImageView addImage(FrameLayout mainCanvas, String imageName, float x, float y, int size);
Most of this method is implemented for you. Please read through it to understand how it works, then try to set the size and location of ImageView added in this method. You can find the solution implementation of this method here.
Related APIs: ImageView
Specs for addText
TextView addText(FrameLayout mainCanvas, String text, float x, float y, int fontSize, int color);
Related APIs: TextView / TextView#setTextColor
You may find the comments and the implementation of addImage useful.
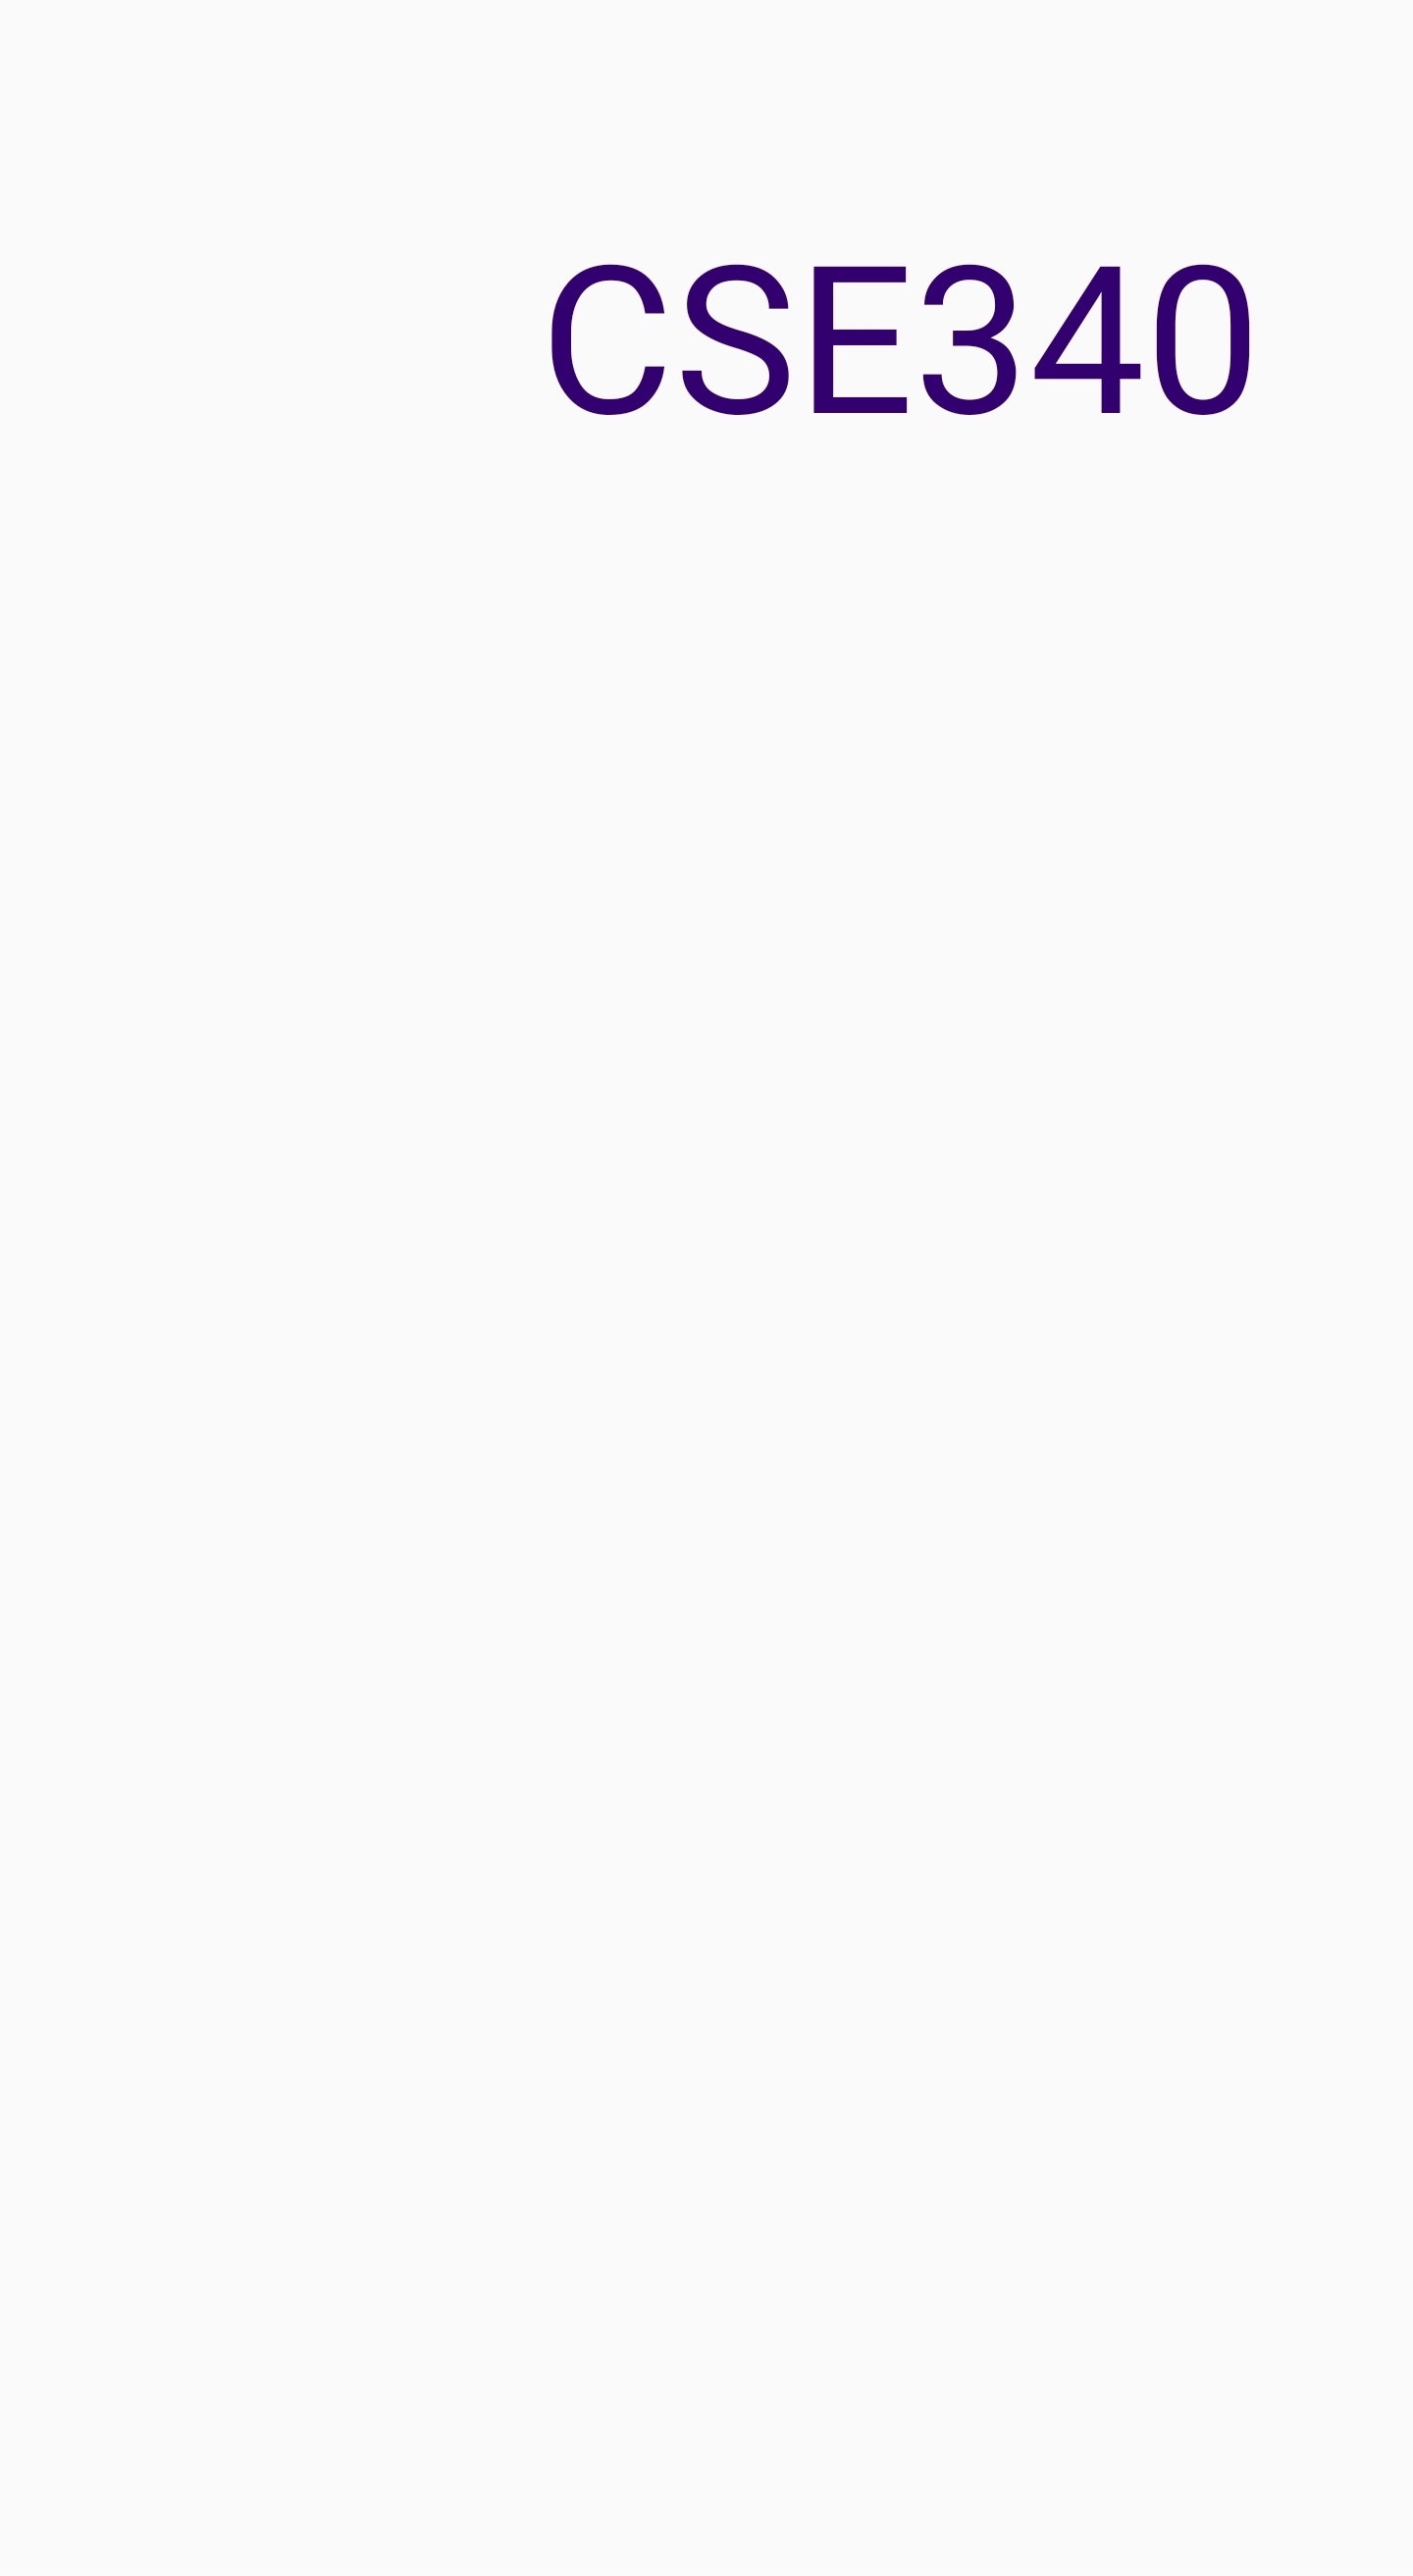
If you implement it correctly, you’ll see the image below if you run:
addText(mainCanvas, "CSE340", scaleX(550), scaleY(200), 60, Color.rgb(51,0,111))
Specs for addLine
ImageView addLine(FrameLayout mainCanvas, float startX, float startY, float endX, float endY, int width, int color);
There are several ways to draw a line. android–code has a good example.
For your Bitmap, you can use Bitmap#createBitmap(int, int, Bitmap.Config) to create a new Bitmap with the width and height of the current screen. You can find the width and height of the current device screen in the PHONE_DIMS constant of Doodler. It will be available to you in Part1.
You may notice that the line does not fully span the width of the screen. This is due to the ImageView in which the Bitmap resides having a margin around it. To fix this, set the width and height of the ImageView to match the dimensions you set for the Bitmap. See addImage for how to adjust the width and height of an ImageView.
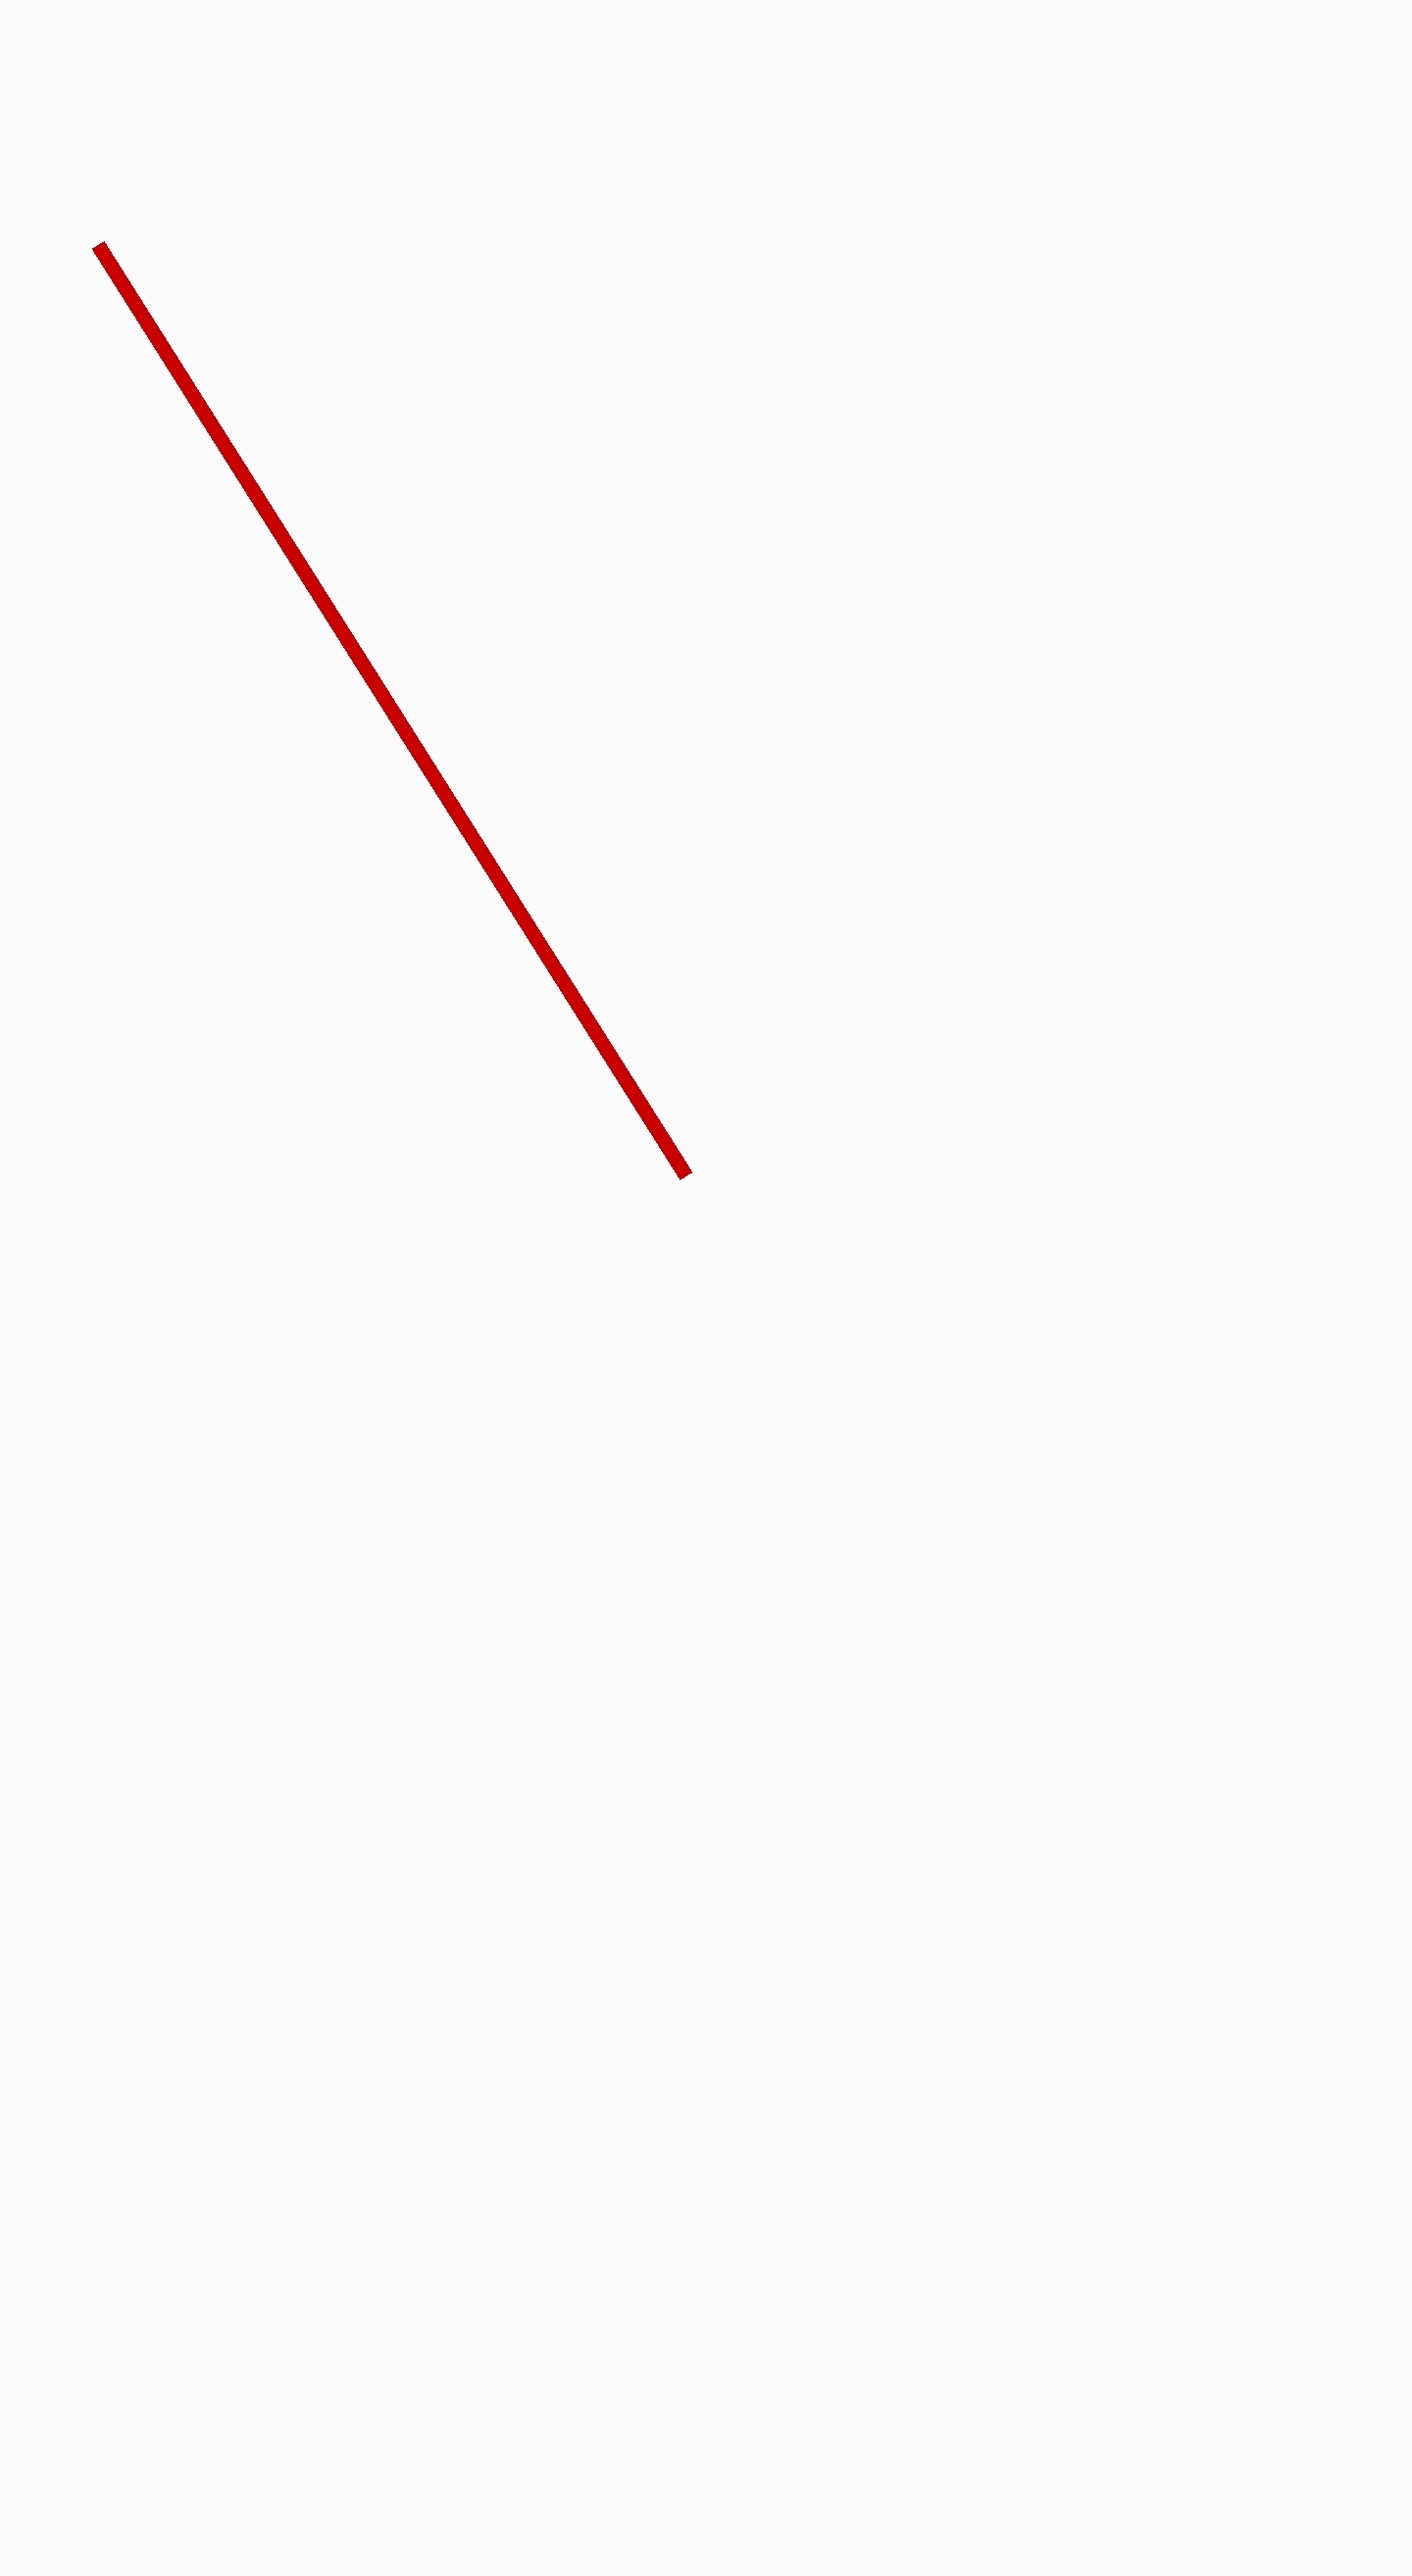
If you implement it correctly, you’ll see the image below if you run:
addLine(mainCanvas, scaleX(100), scaleY(250), scaleX(700), scaleY(1200), 15, Color.rgb(200,0,0))
Animating Text
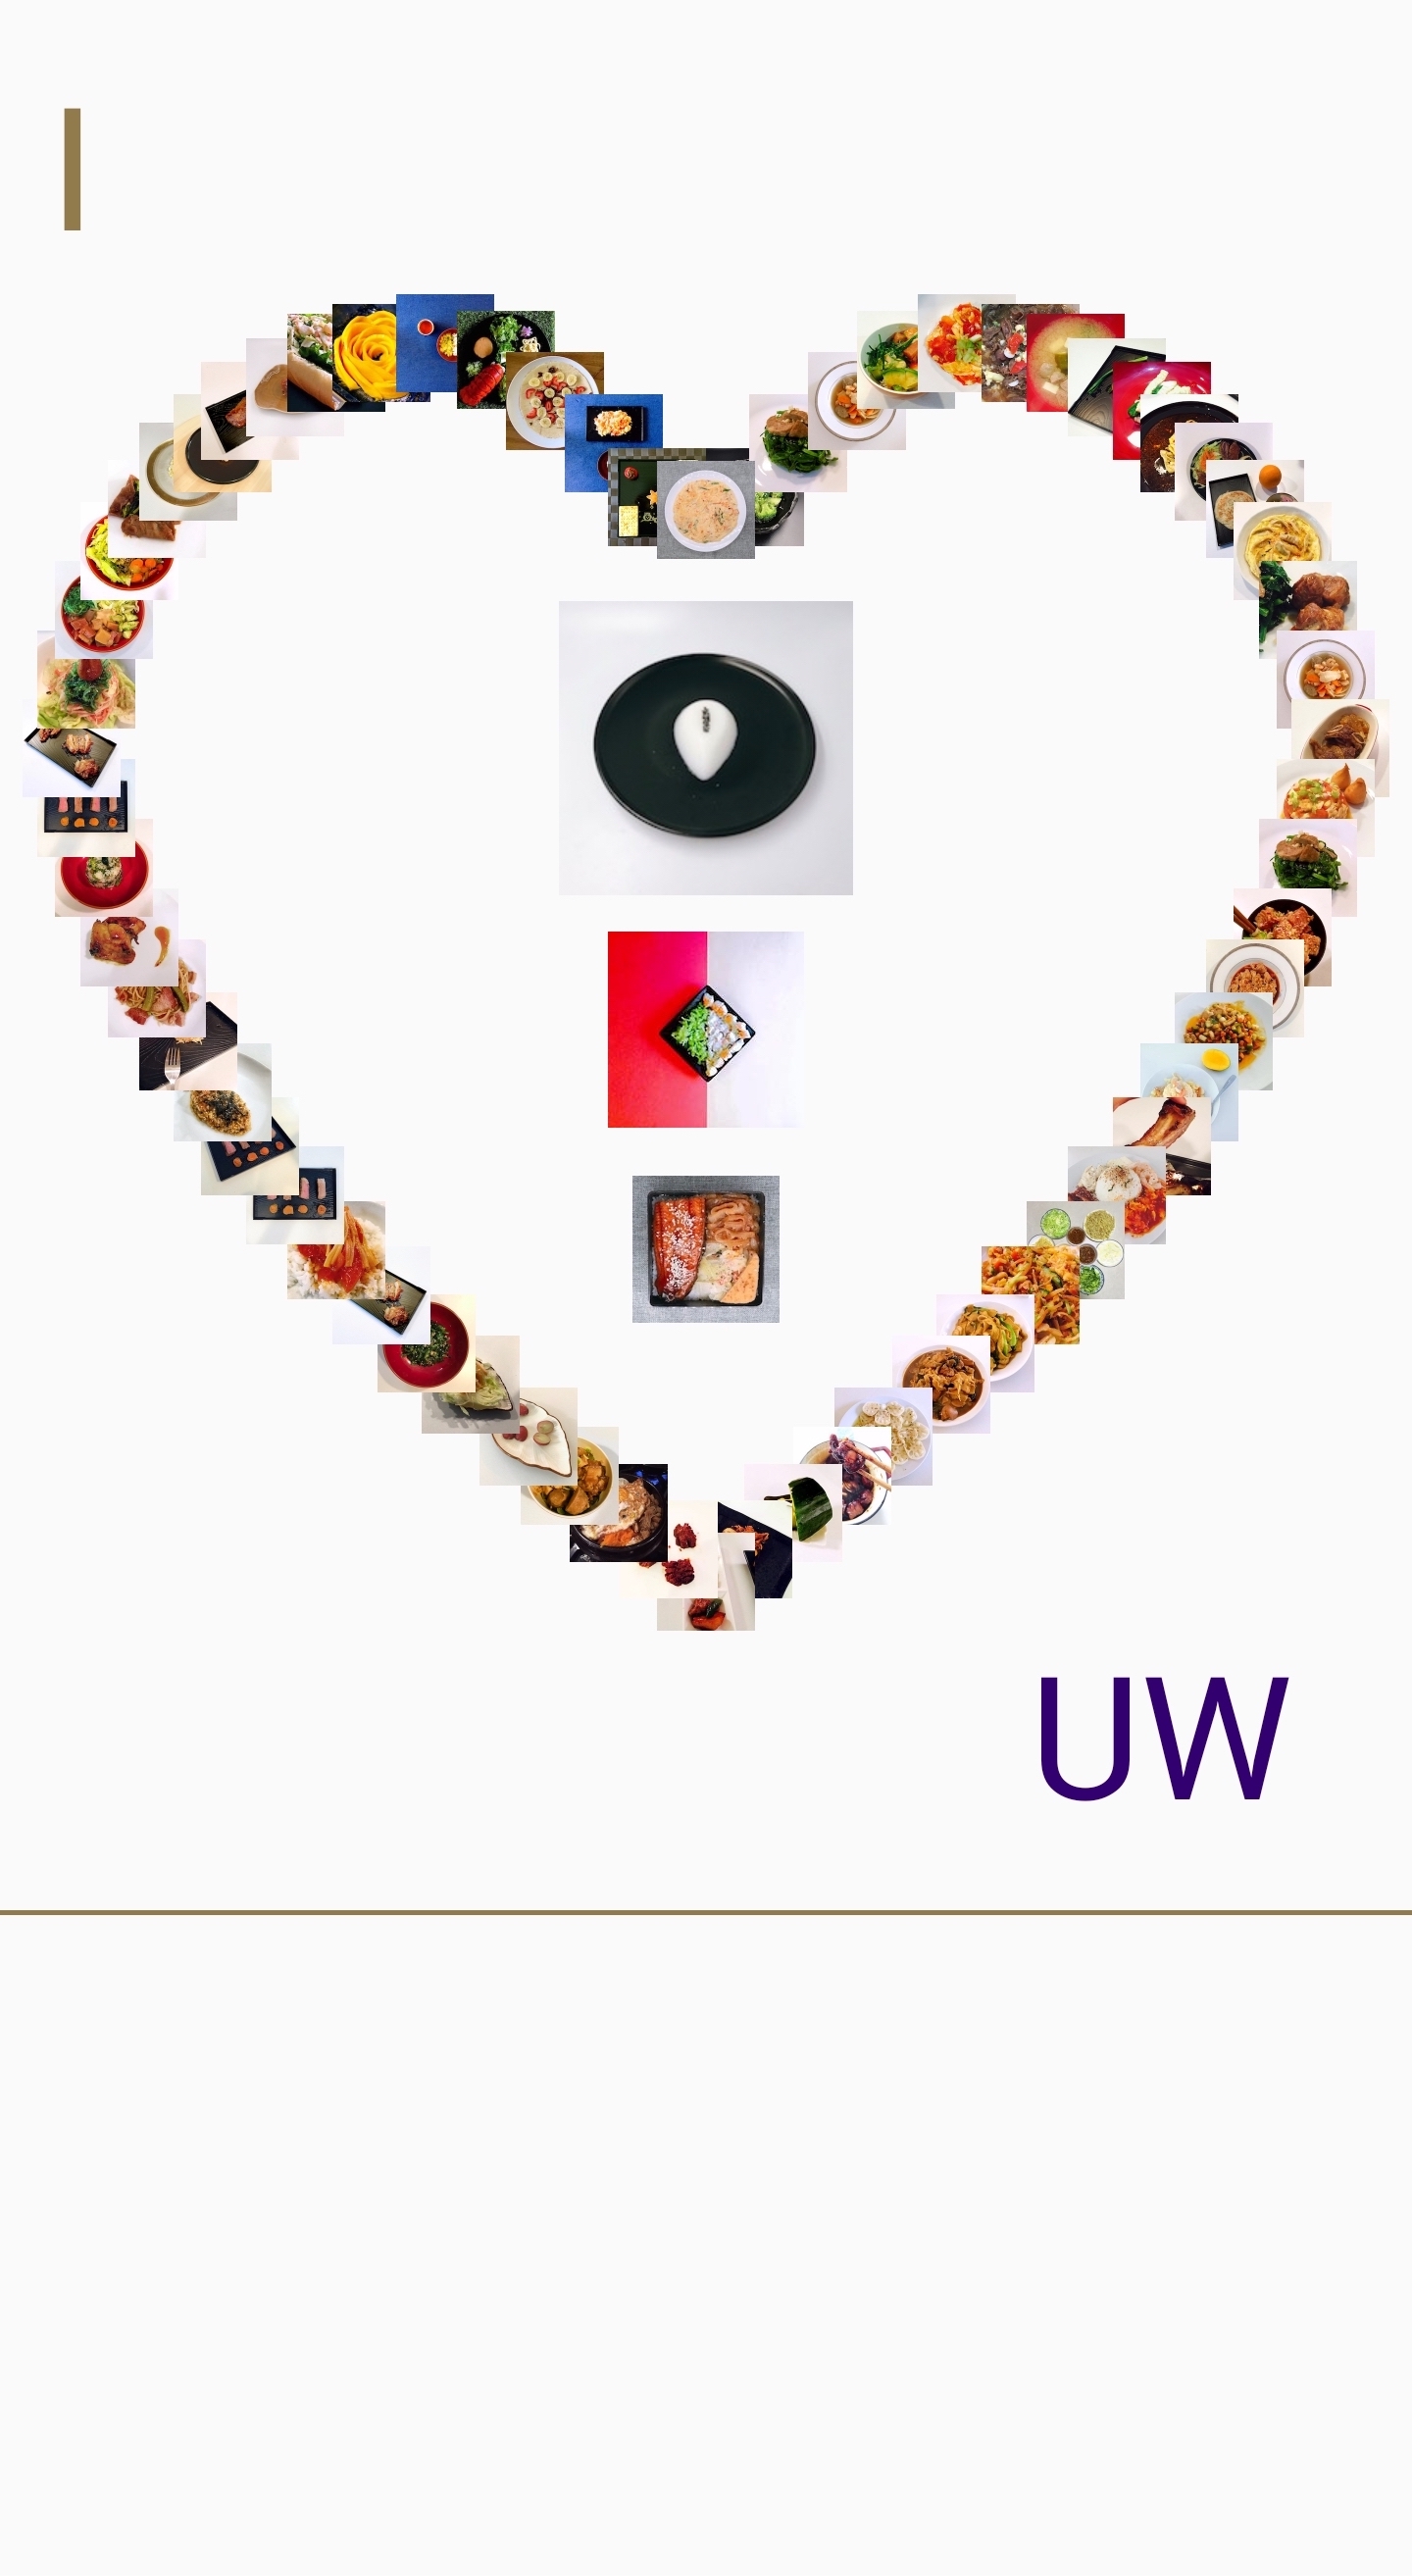
Once you’ve animated the three methods defined above, your doodle should match. For the last part, you will need to figure out how to animate text. In Part1#doodler(FrameLayout), use animations to move the TextView uw from (50f, 1650f) to (1050f, 1650f). Remember to apply scaleX and scaleY to these animations.
Related APIs: ObjectAnimator
Once you’ve finished your animation, your doodle should match this screenshot:
Part 2
Tasks:
- Create a beautiful doodle of your own
This is where your creativity comes into play. We’ve created a blank slate for you in Part2Activity. In here you should use all three methods implemented in Part 1 to draw your own doodle. You are welcome to implement new methods in Part2Activity to make a more creative and beautiful doodle.
Tips:
- To control which activity launches with the app by moving the existing
<intent-filter>tag between different activities. - Aim for complexity similar to Part 1 (images, text, and shapes) though you don’t need to use as many images. Try to be creative, you work will be graded by your peers.
- You may use the attractive home-cooked food images (photo credit) we include in
res/drawableor use your own images.- If you chose to use your own images, please be sure to turn them in exactly as specified in Turn-in.
- If your animation is laggy, please reduce the number of images you put on canvas or reduce the file size of images (e.g., convert png to jpg, reduce resolution of image file).
- Make sure that your doodle depends on nothing outside of the files described in Turn-in.
For Peer Grading This portion of the assignment will be peer graded. You will receive 1pt for peer grading others’ doodles. You will have a chance to nominate the most creative doodles. The winners will be shown off in class.
Related APIs: Android Animation / View Animation / Property Animation / Vogella Tutorials - Android Animation
Turn-in
Submission Instructions
You will turn in the following files here:
─ Part1.java
─ Part1Activity.java
─ Part2Activity.java
- images.zip (optional)
  ├── abc.png
  ├── ...
  └── xyz.jpg
- part2.csv (optional)
If you use your own images in Part 2, please include them in a ZIP archive. The images should be compressed together without an enclosing folder. Ex: zip images.zip abc.jpg ... xyz.jpg. Do not place the files in a folder called images and compress that.
If you’re positioning a large number of images for Part 2, it may be best to use a CSV similar to data.csv which is used for the heart in Part 1. Include this as part2.csv if necessary. Remember, the CSV coordinates are on a Pixel 2 XL and scaled to the current screen in Doodler#addAllImagesFromData(FrameLayout).
Grading (10pts)
- Part 1
addImage: 1 ptaddText: 1 ptaddLine: 3 ptsUWAnimation: 1 pt
- Part 2
- Peer Grading of Custom Doodle
- Using each of the three methods: 1 pt
- Using an animation: 1 pt
- Complete assigned peer grading: 1 pt
- Peer Grading of Custom Doodle
- Turn-in and compiles: 1 pt